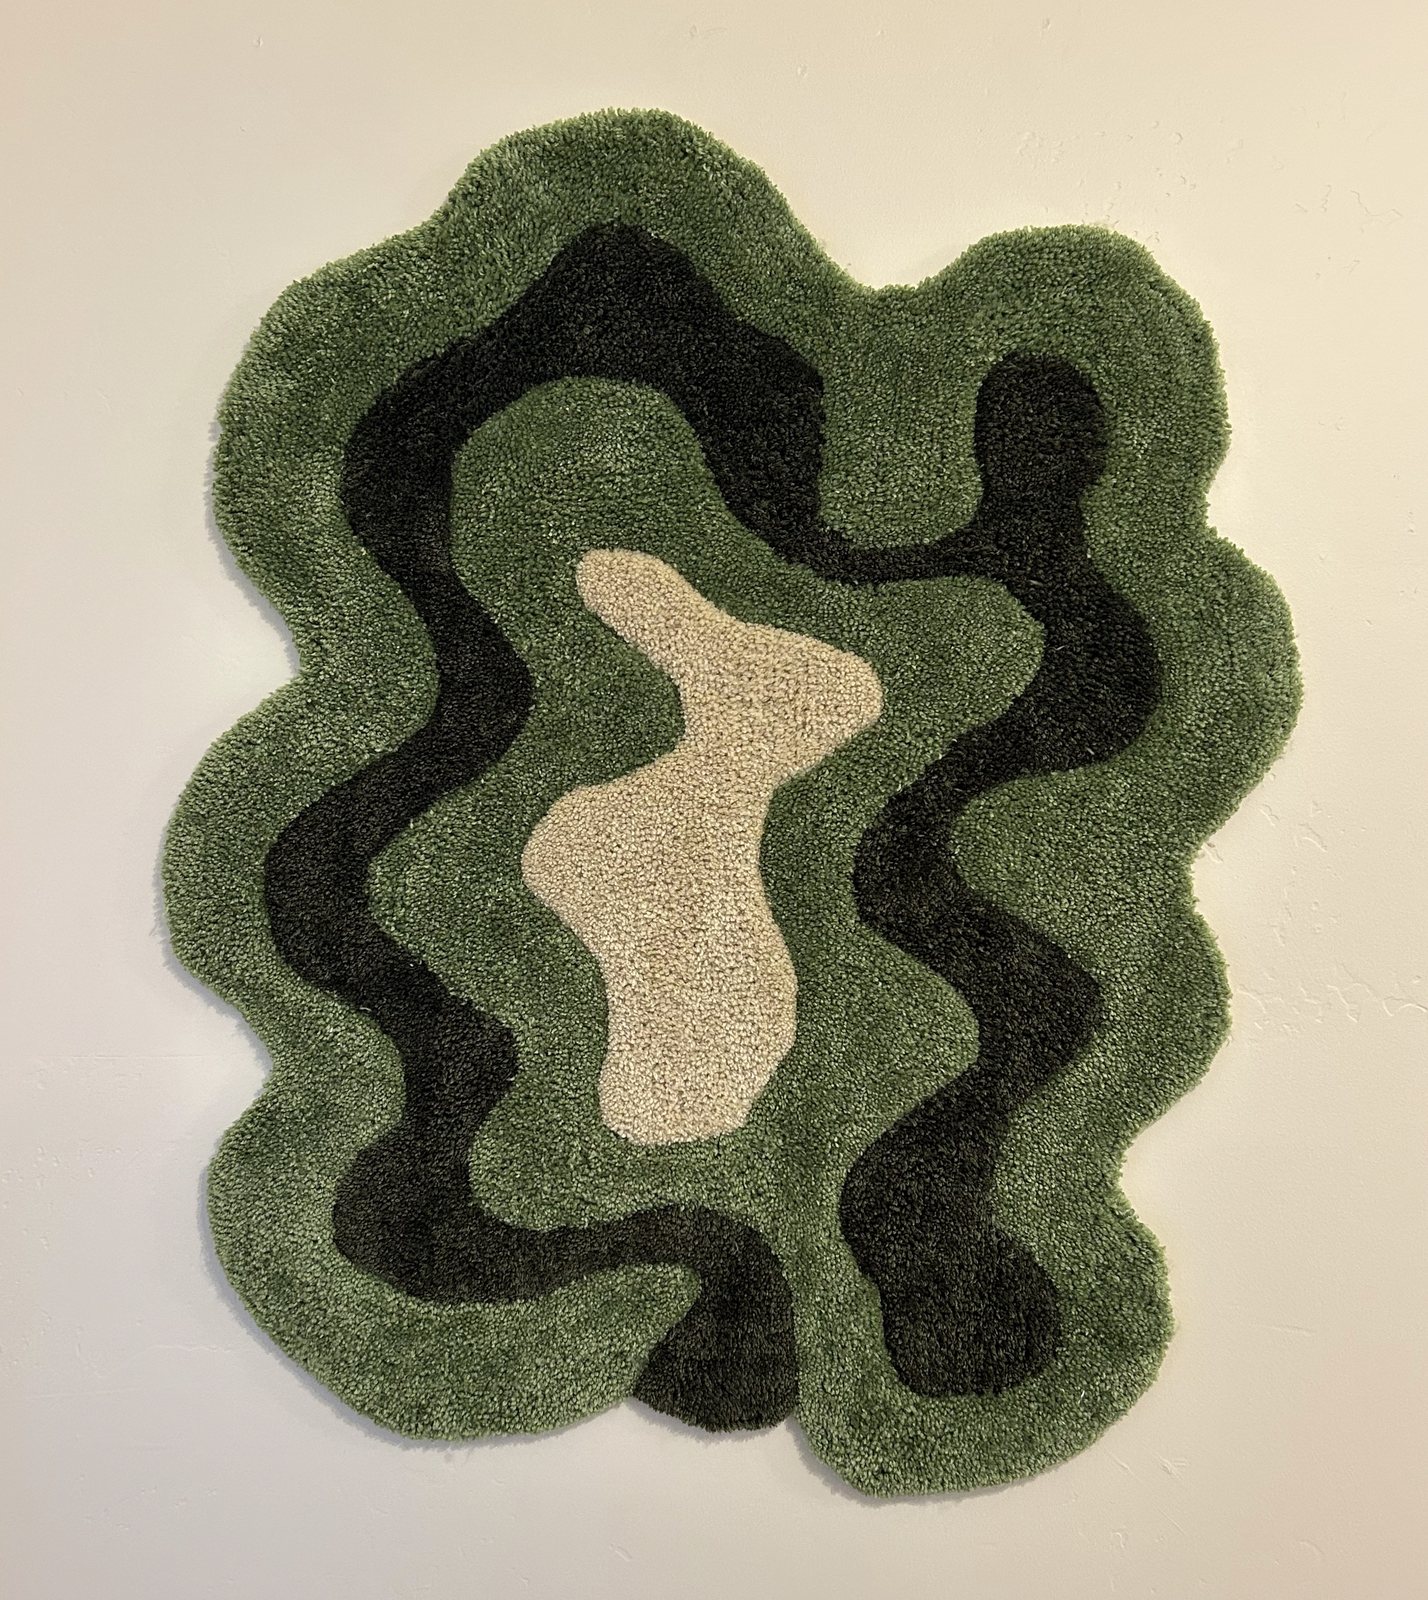
Rug tufting
December 2025
I had been following a rug tufting channel for a long time and loved the rugs the guy made, but they ran $1,100 and up, well out of my budget for a rug. So I figured, heck, I am crafty, why not see if I can do this myself?
What actually got me moving was a complete tufting kit on Facebook Marketplace. It had everything I needed, and I figured I could sell it for the same amount when I was done.
Sandtrap
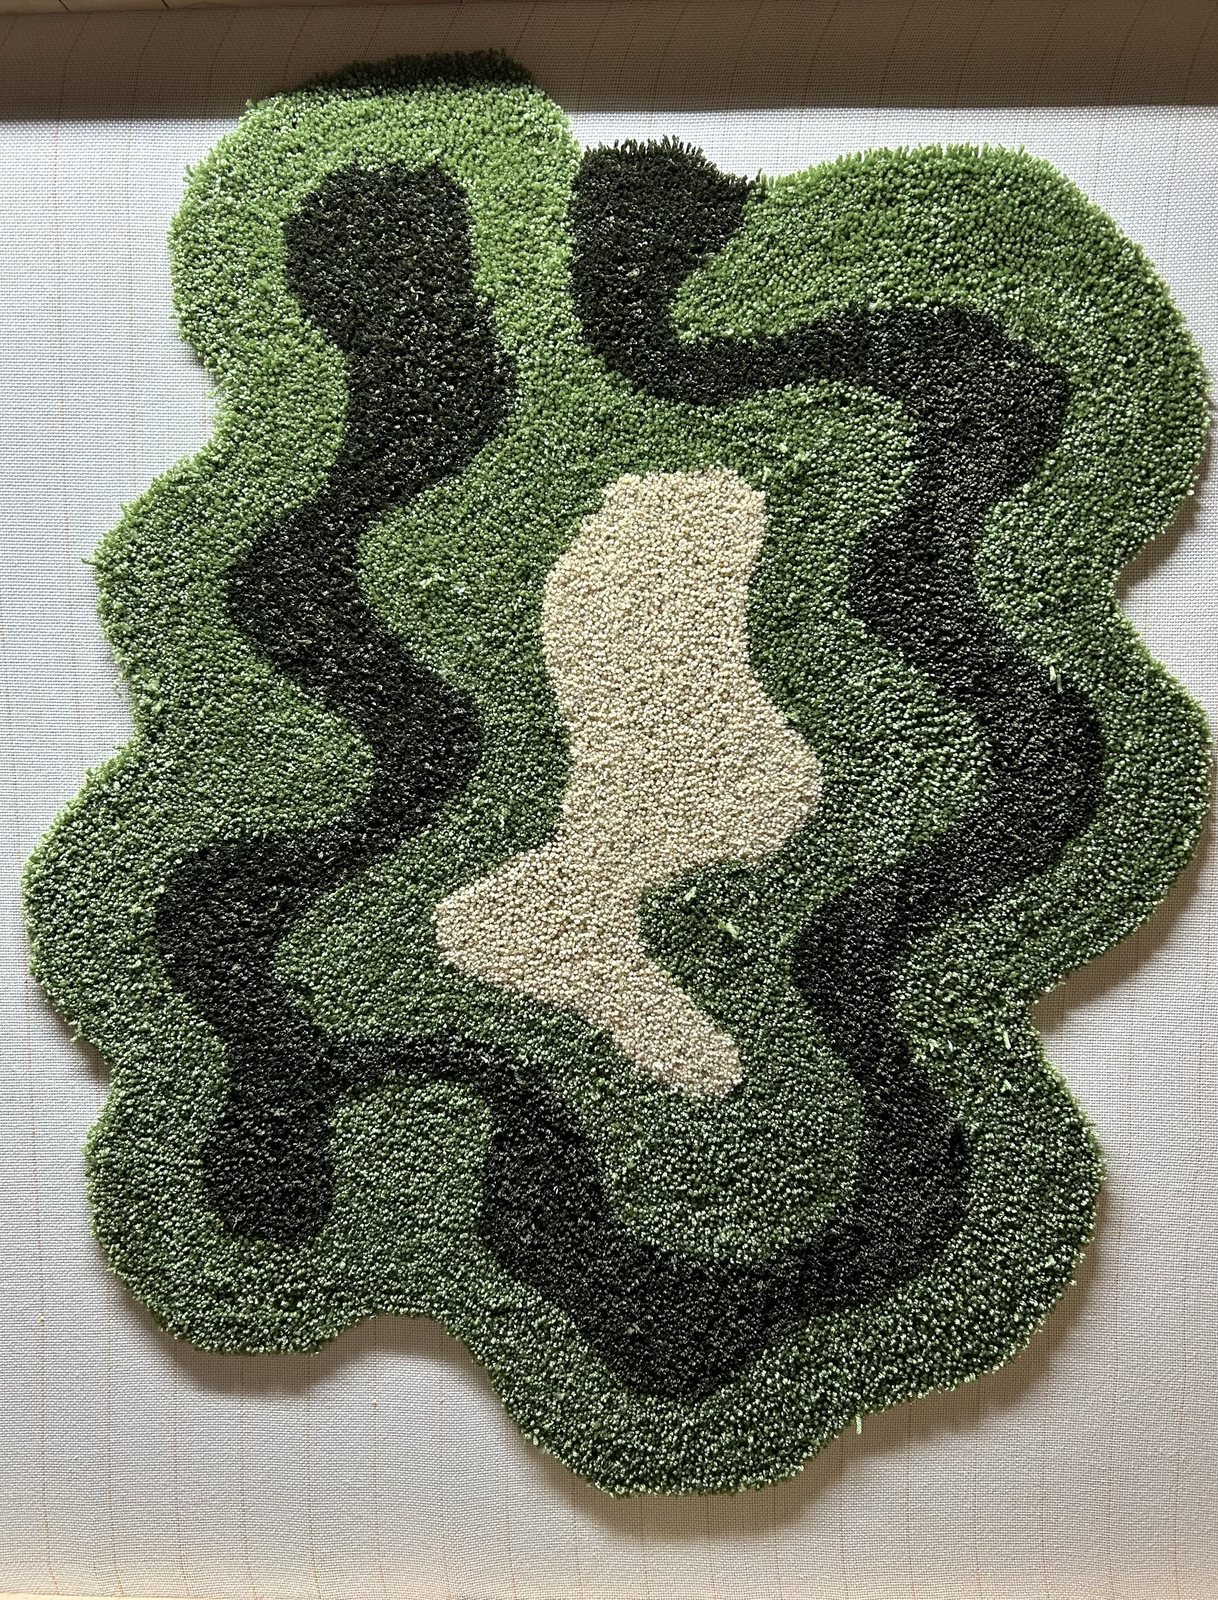
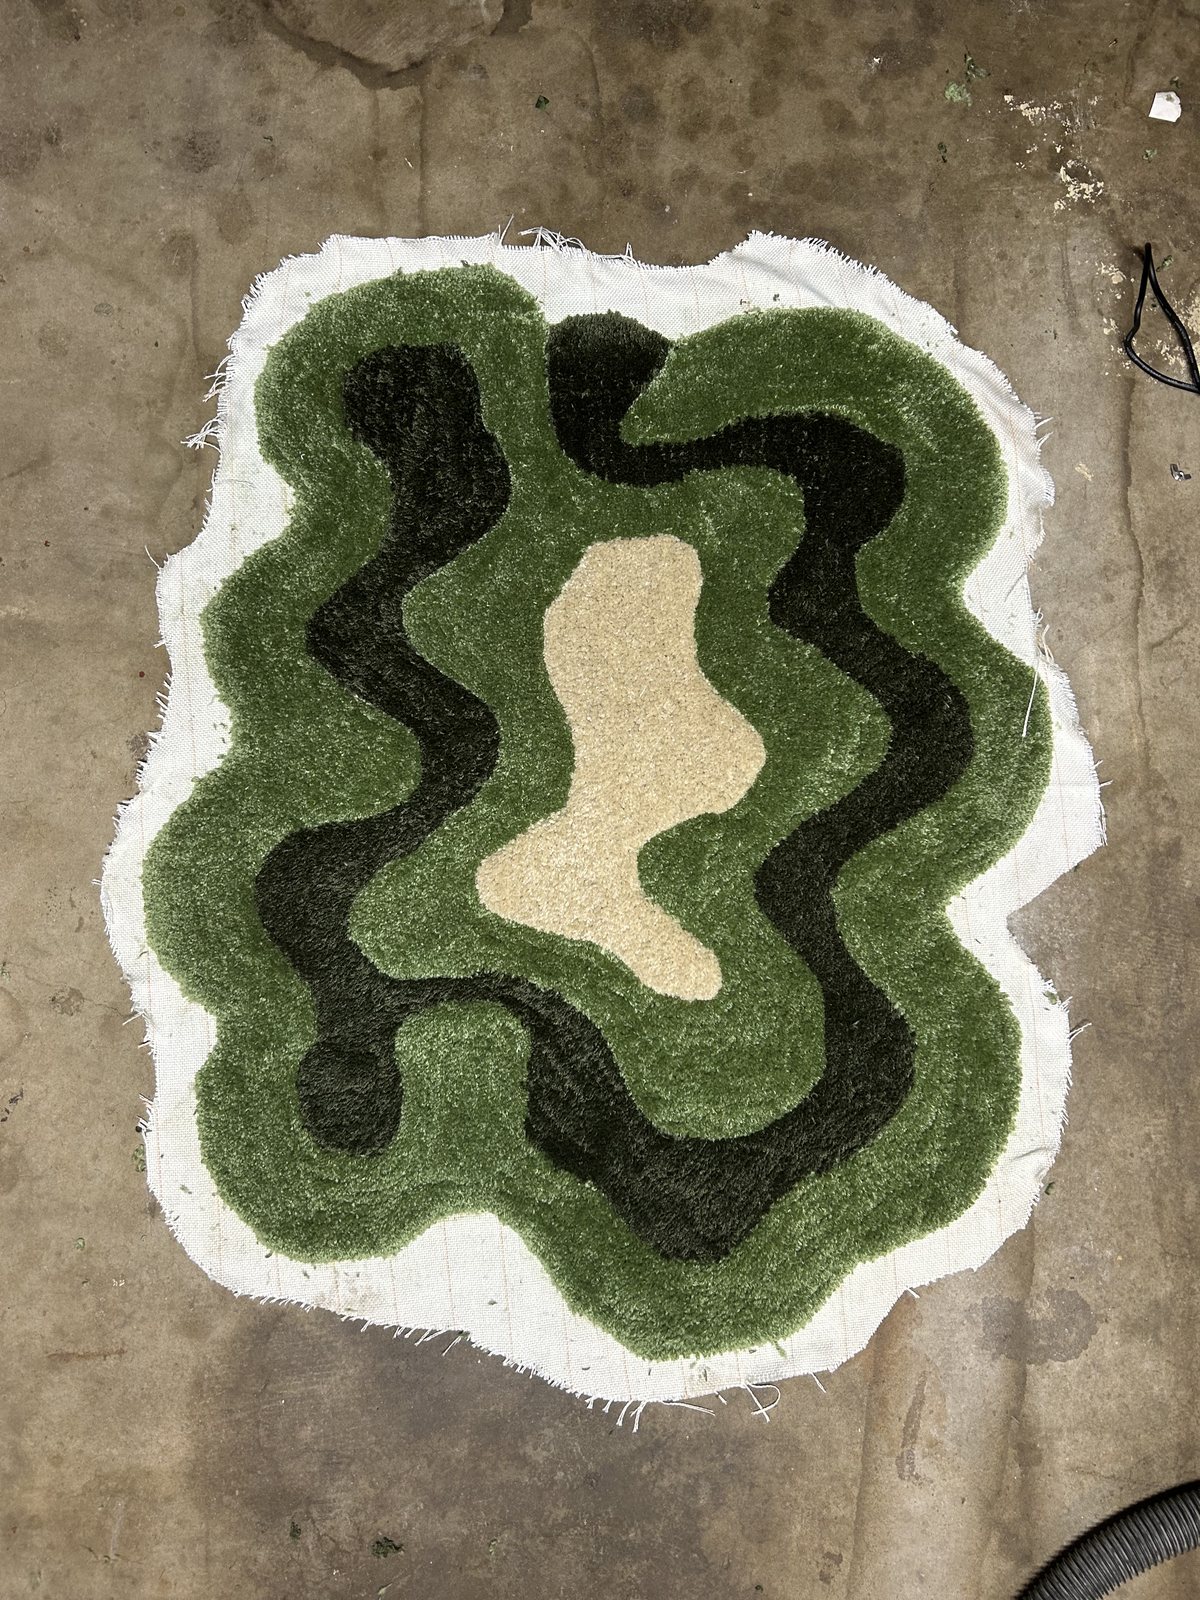
That is the name I gave the rug. I drew it up on my computer to read like a golf course, layers of green around a patch of sand, in the same colors as our house. Then a trip to Hobby Lobby and Joann's for a wool-blend yarn in the colors I wanted.
Frame, cloth, and design
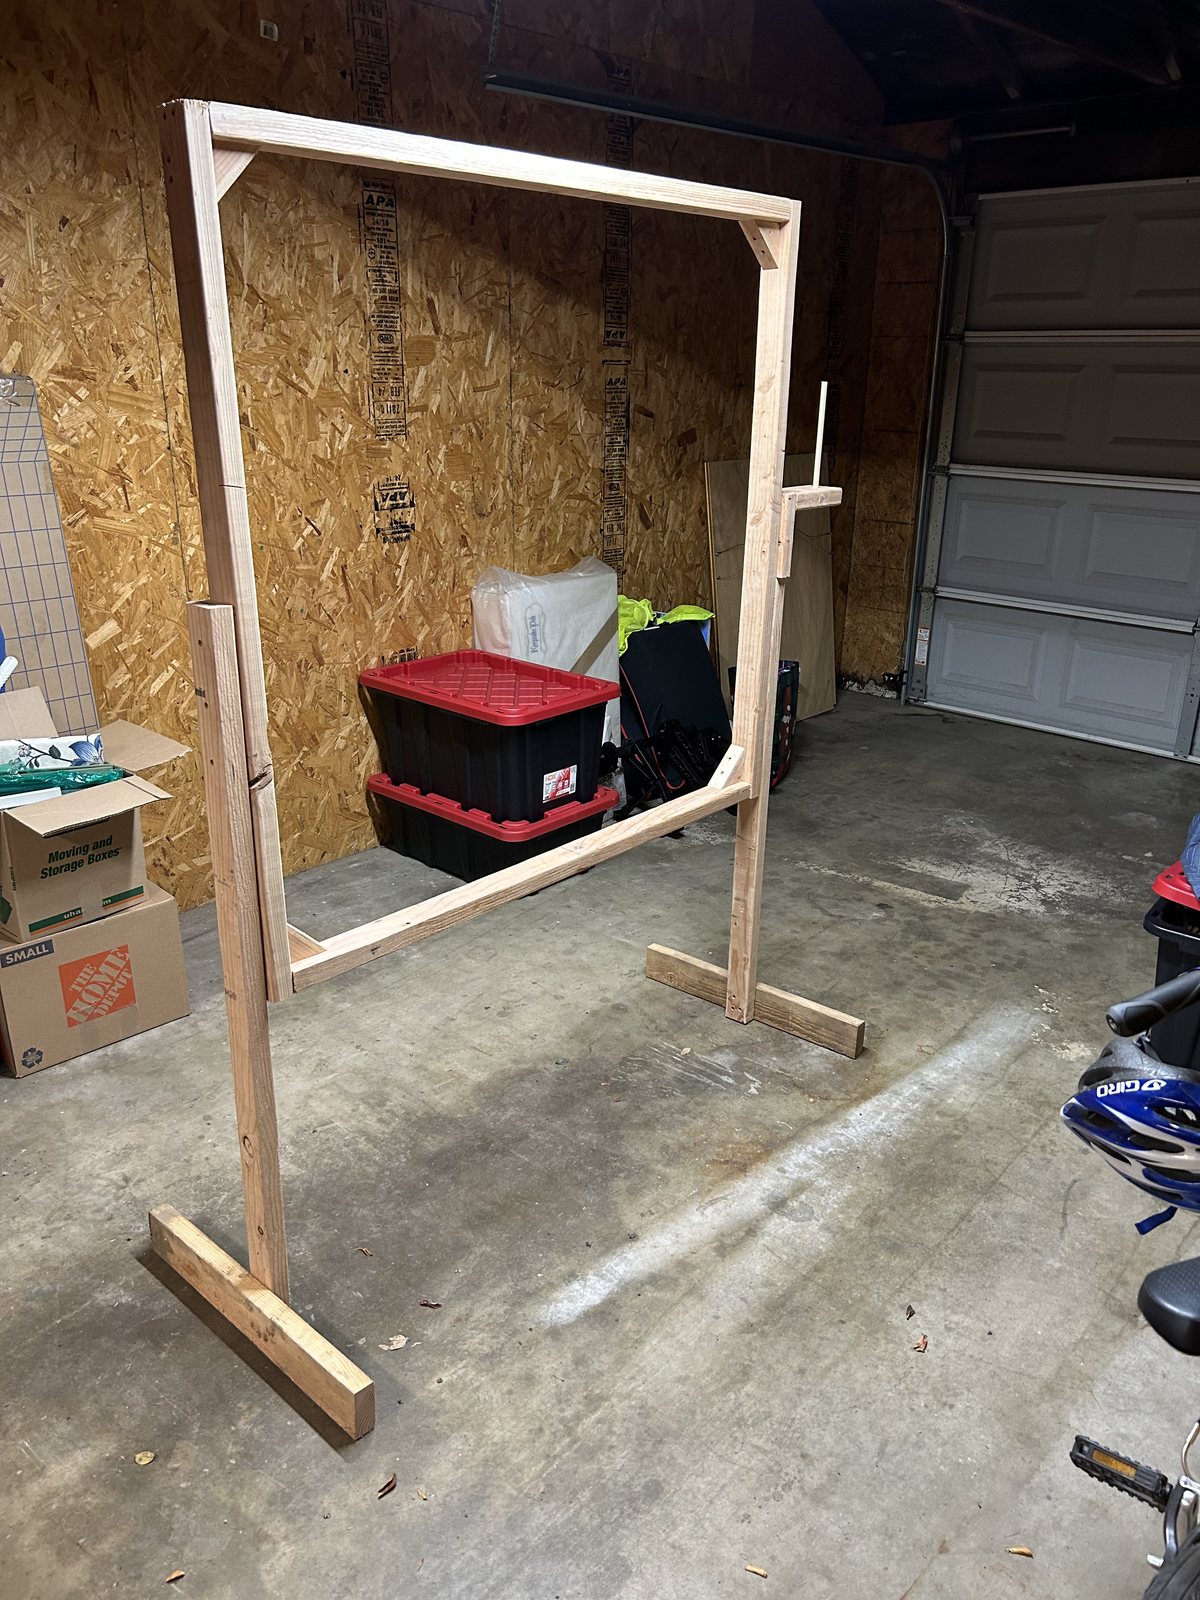
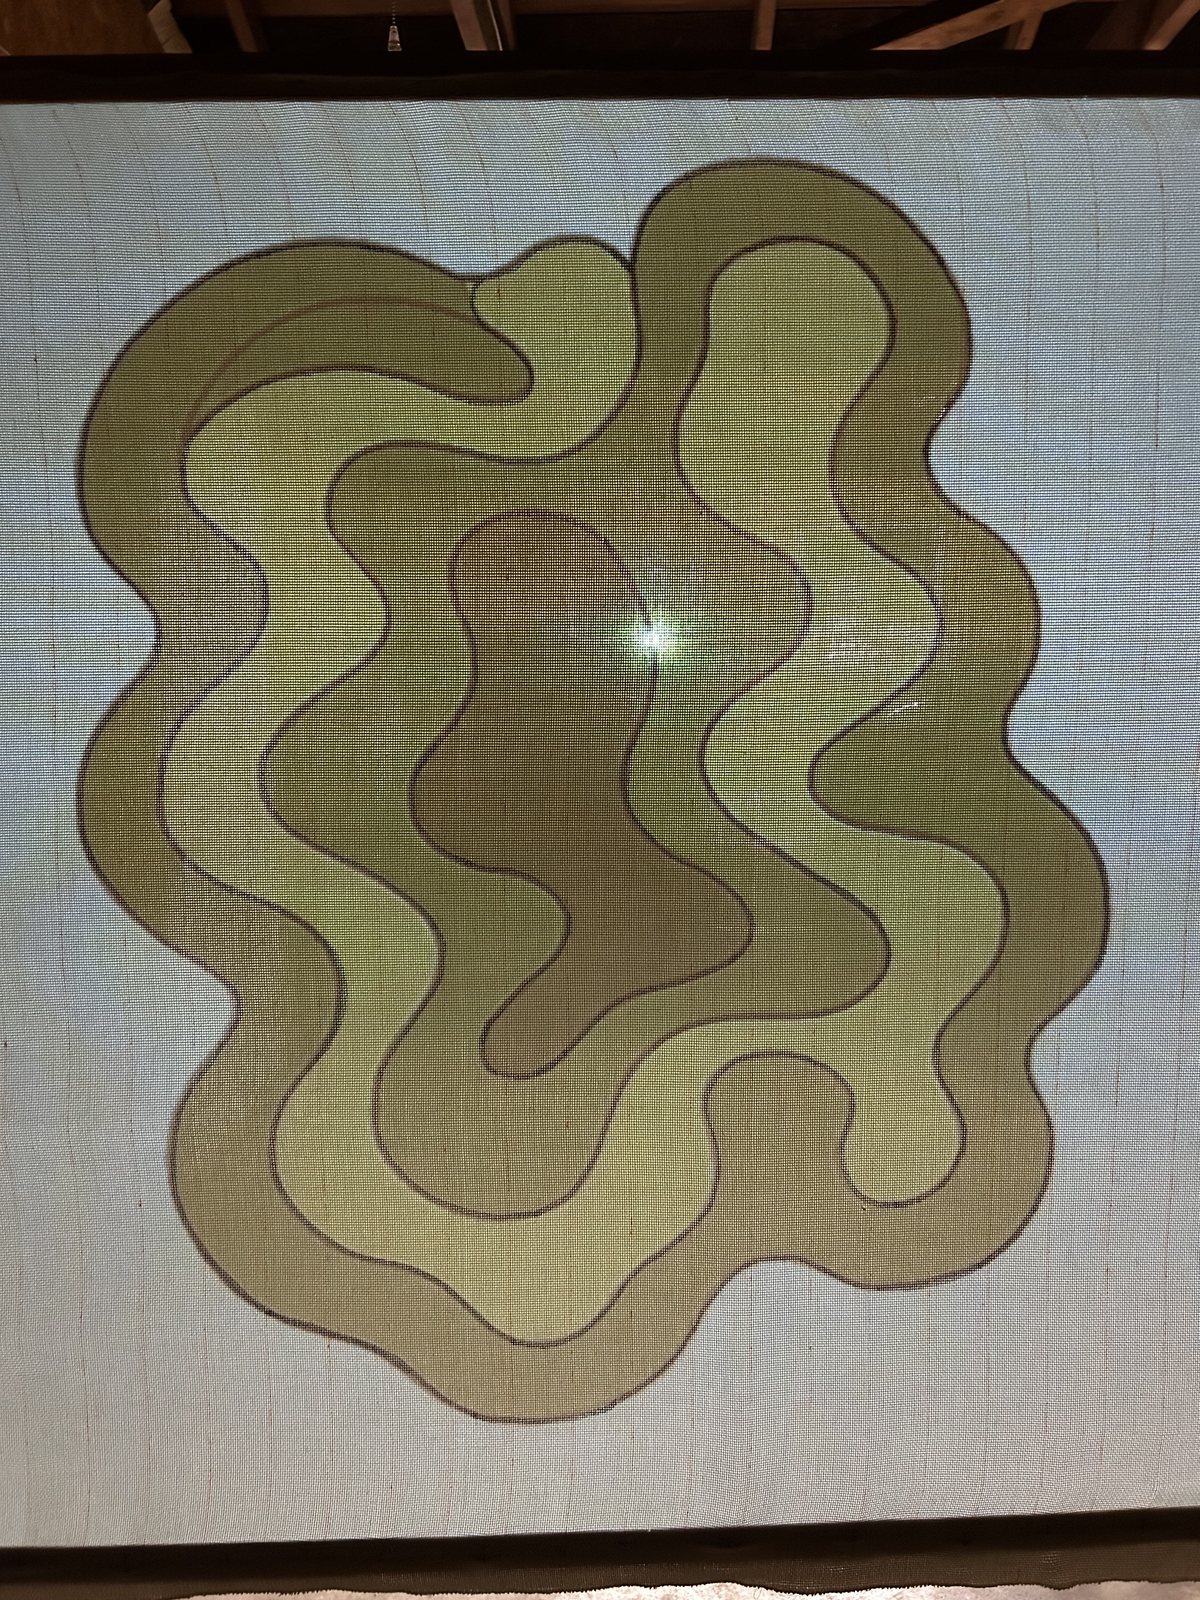
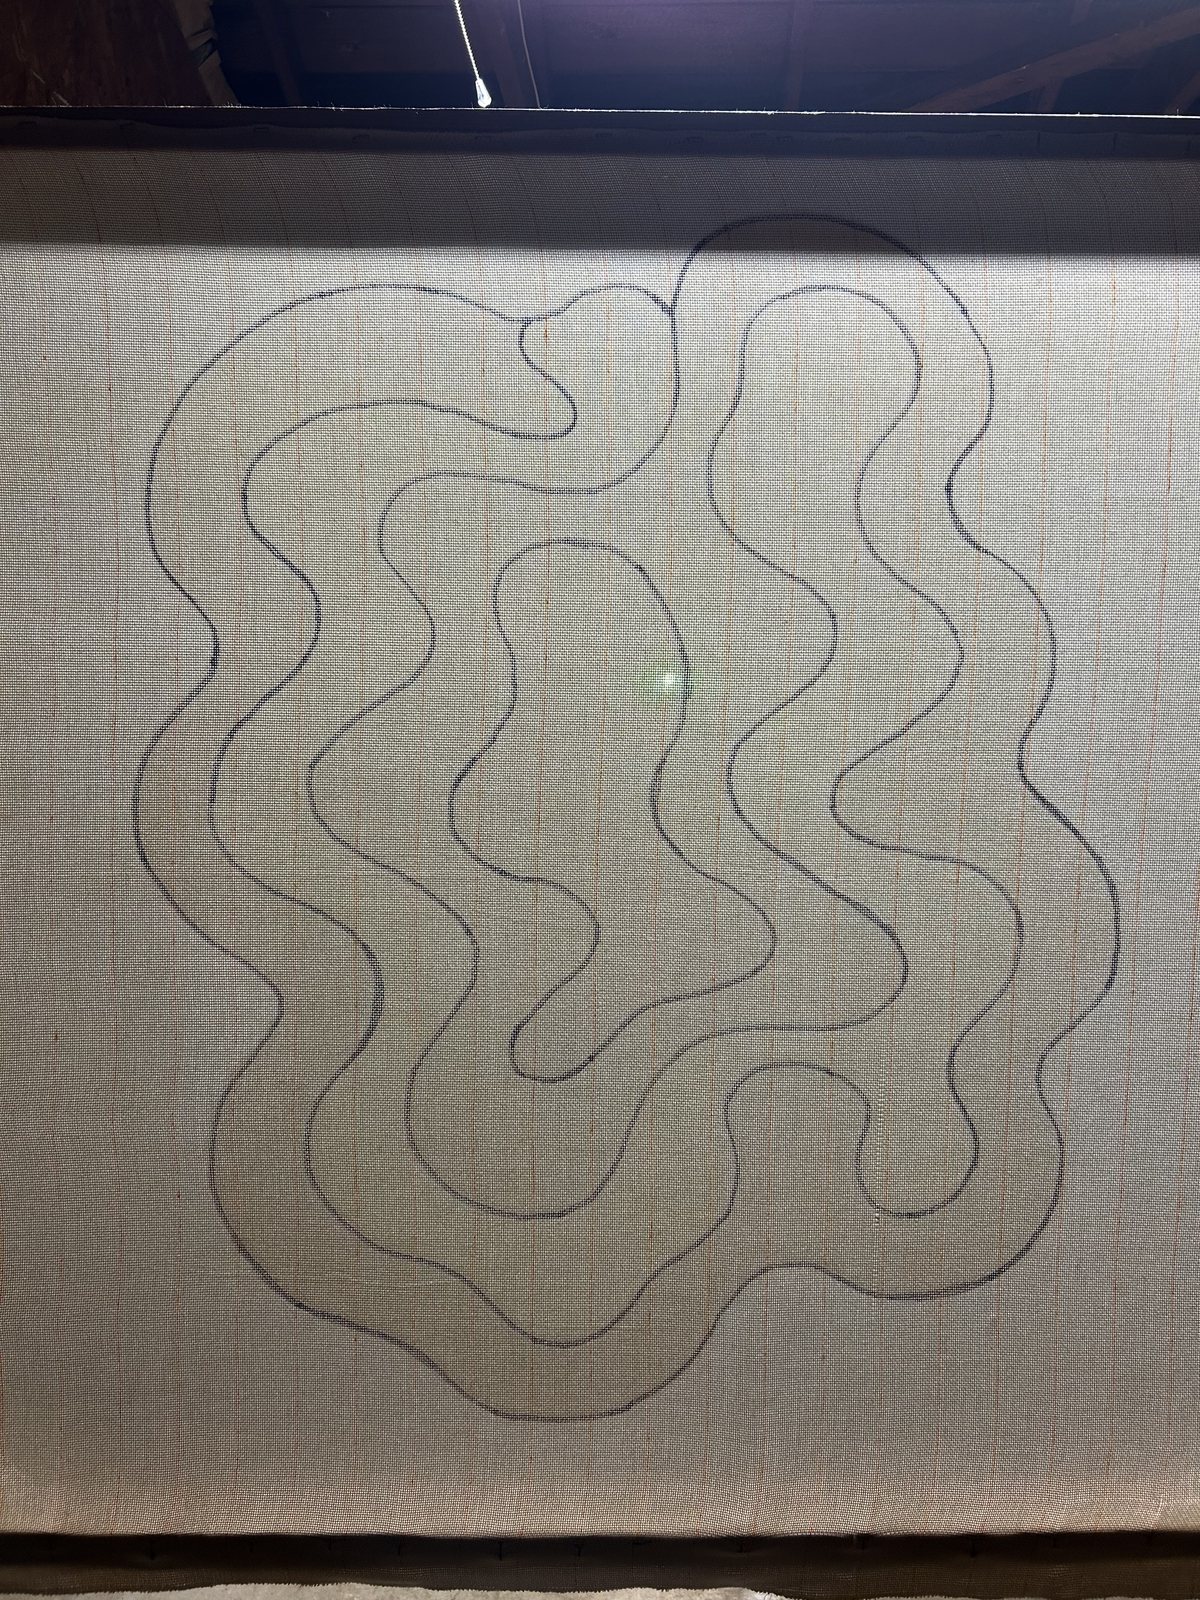
Built the frame, strung up the cloth, projected the design onto it, and traced it with a Sharpie.
Tufting
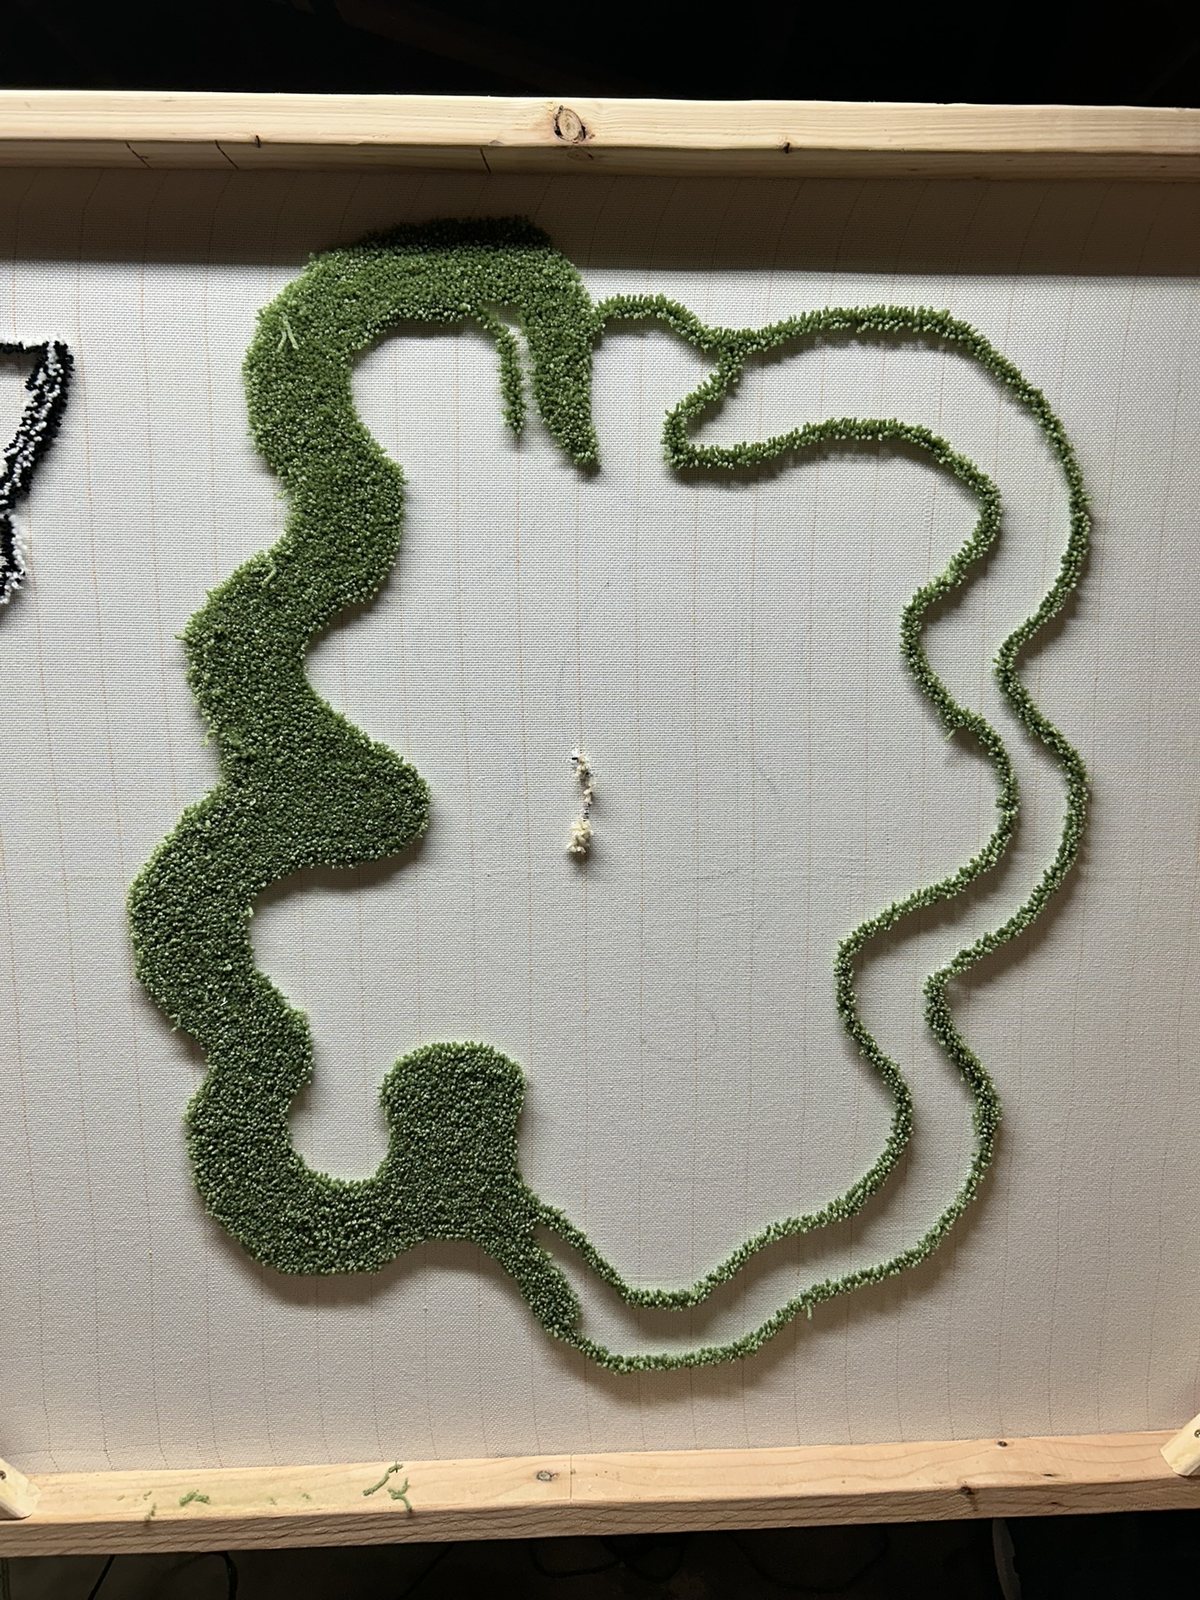
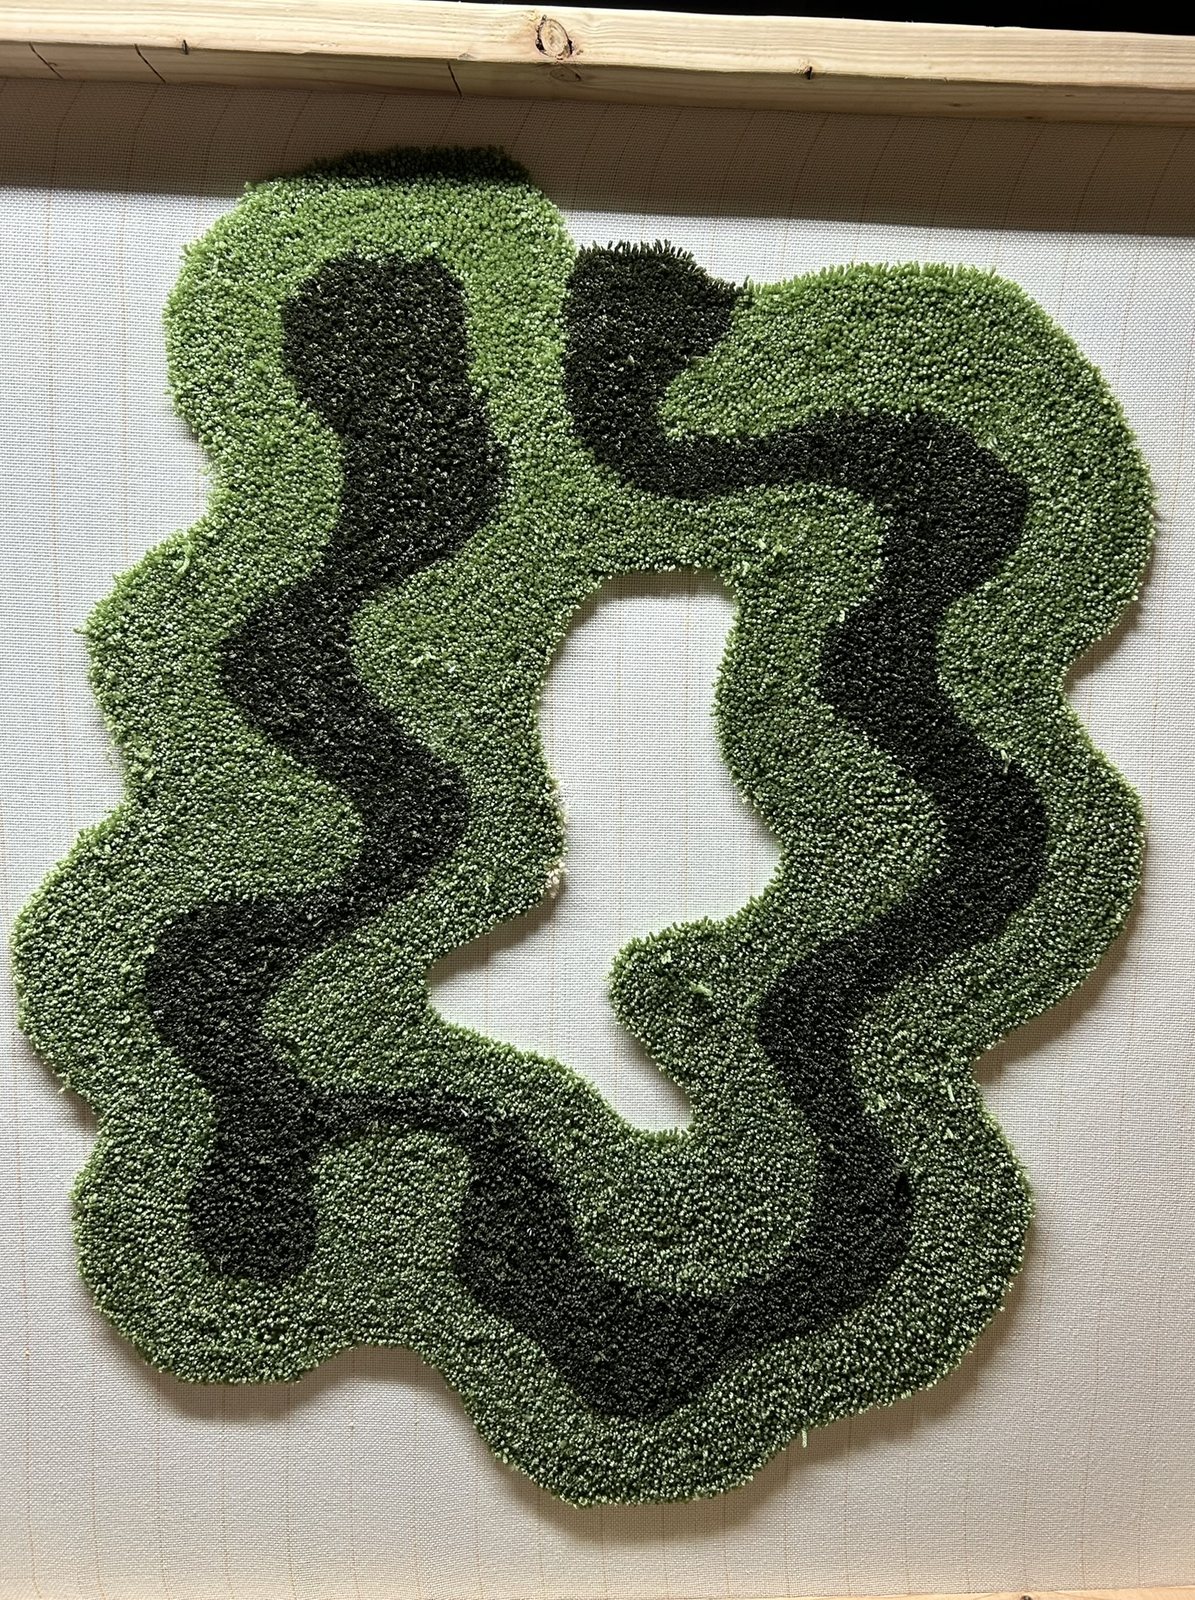
A couple of practice corners to get a feel for the gun and how it works, then I outlined the design in one color and filled it in.
Backing and cutting
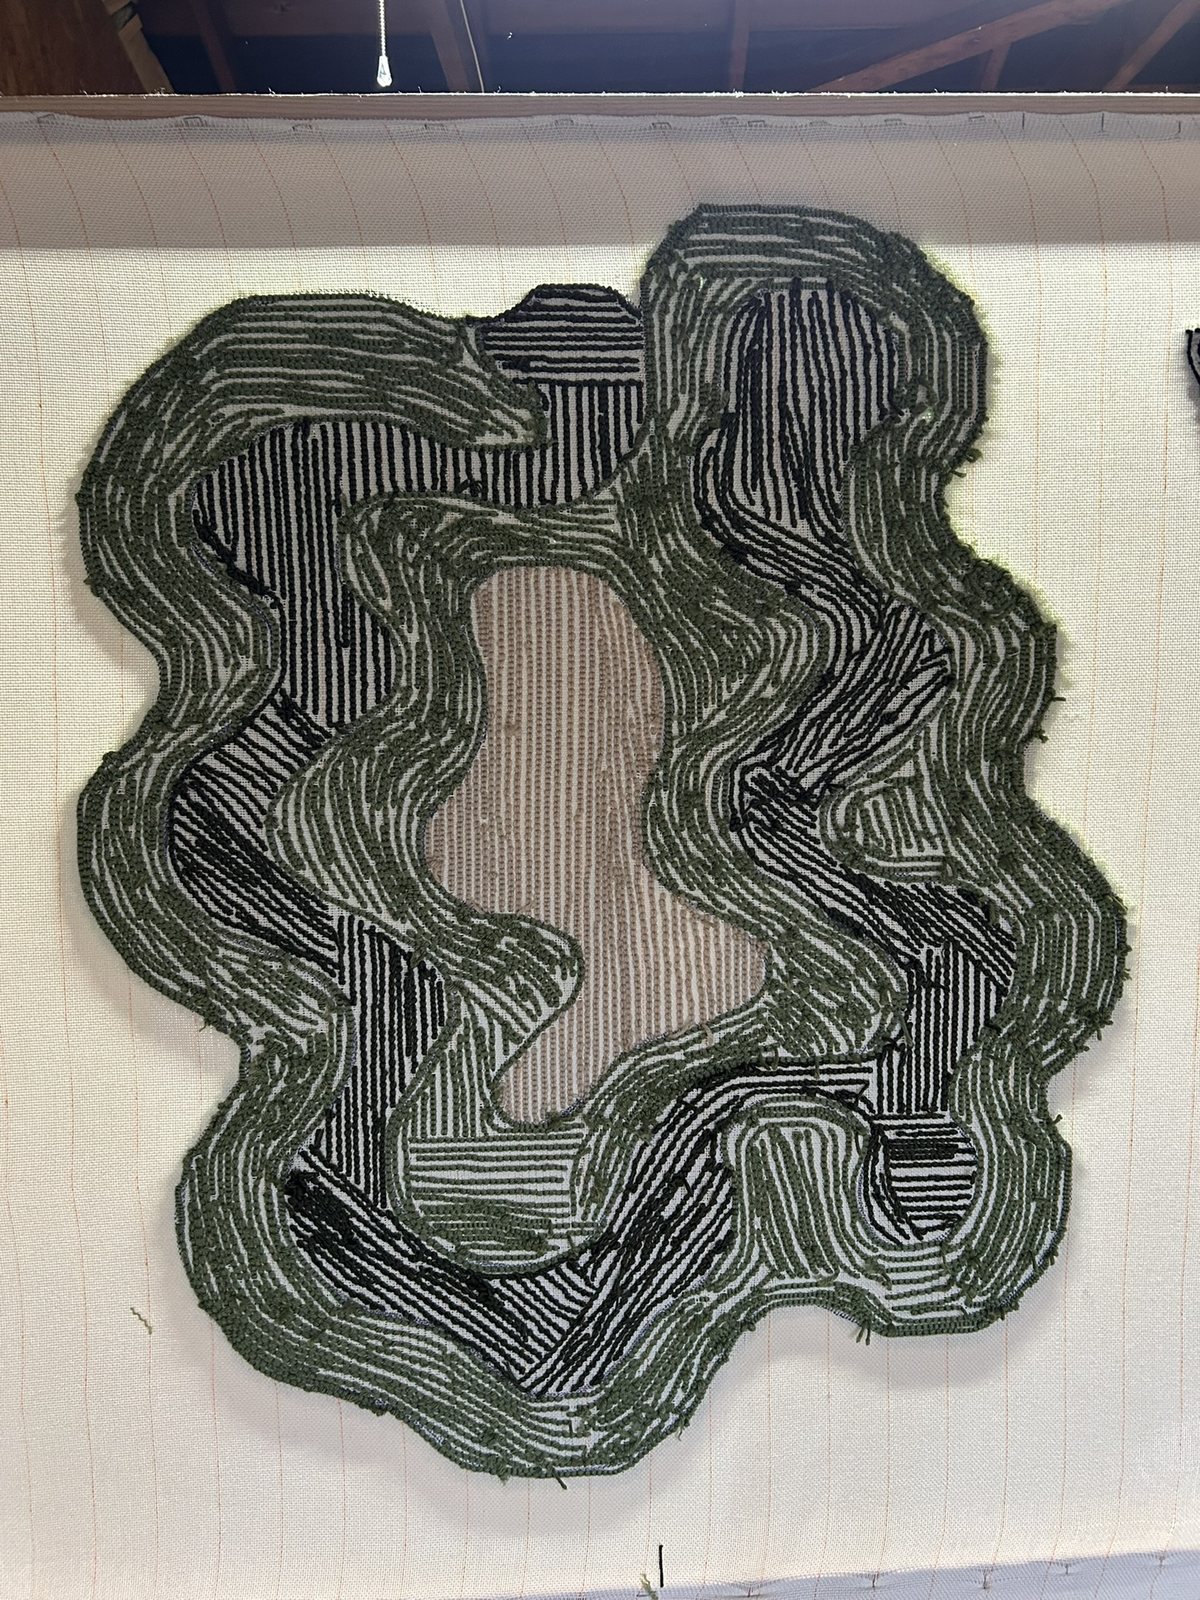
With the design tufted onto the cloth, I glued the back: hot glue at the corners and folded edges to hold everything in place, then flooring glue for the backing. I used a rubberized non-slip backing, even though the rug ended up on the wall. Then I cut it out.
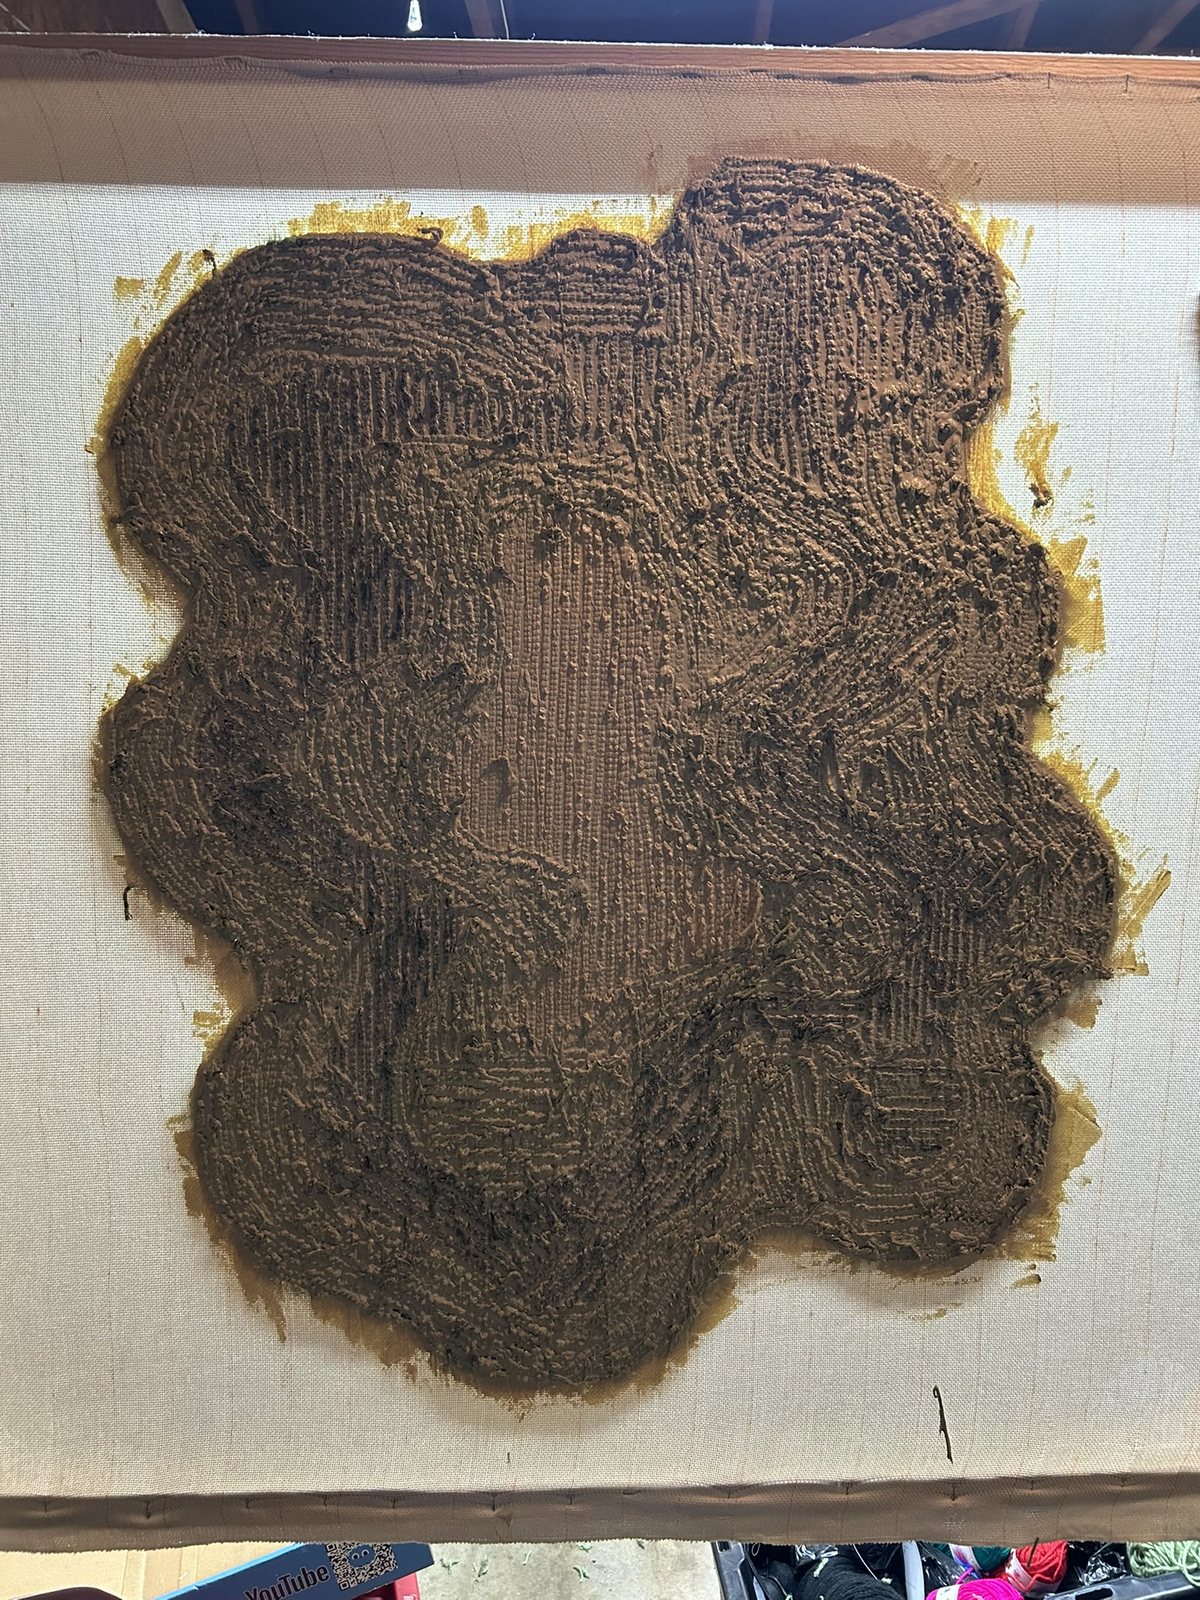
Carving
The hardest part by far was the carving: cutting into the pile to define the edges between layers and give the rug depth. I wanted rounded edges between the areas, and that took longer than everything else combined.
The result
For a first rug, some areas came out very dense and others had a little less rug than I would have liked. Doing it over I would make a few different decisions, but I love it, and it is a good piece of art for the house.